![Full Color.png]](https://learn.tryswivl.com/hs-fs/hubfs/Full%20Color.png?height=50&name=Full%20Color.png)
ℹ️ Updates to your embed code generally happen immediately, but it may take up to an hour to update for everyone across the entire internet. If you need help installing your embed code on your website, check out this page: Installing your Bot
Overview
You have complete control over the visual design and position of your chatbot on your website.
Embed Name
This is the name you give to this specific embed. This is for internal use only. Oftentimes, you’ll want to treat desktop and mobile users differently which requires separate embeds. This is where naming them comes in handy.
Header Title
This is the text that will be displayed at the top of the chat window. i.e. "Questions? Chat with us"
Dot Title
This is used only when the Collapsed Type is set to "Dot". When a user hovers over the Chat Dot, this is the text that will be displayed. i.e. "How can we help?"
Collapsed Type
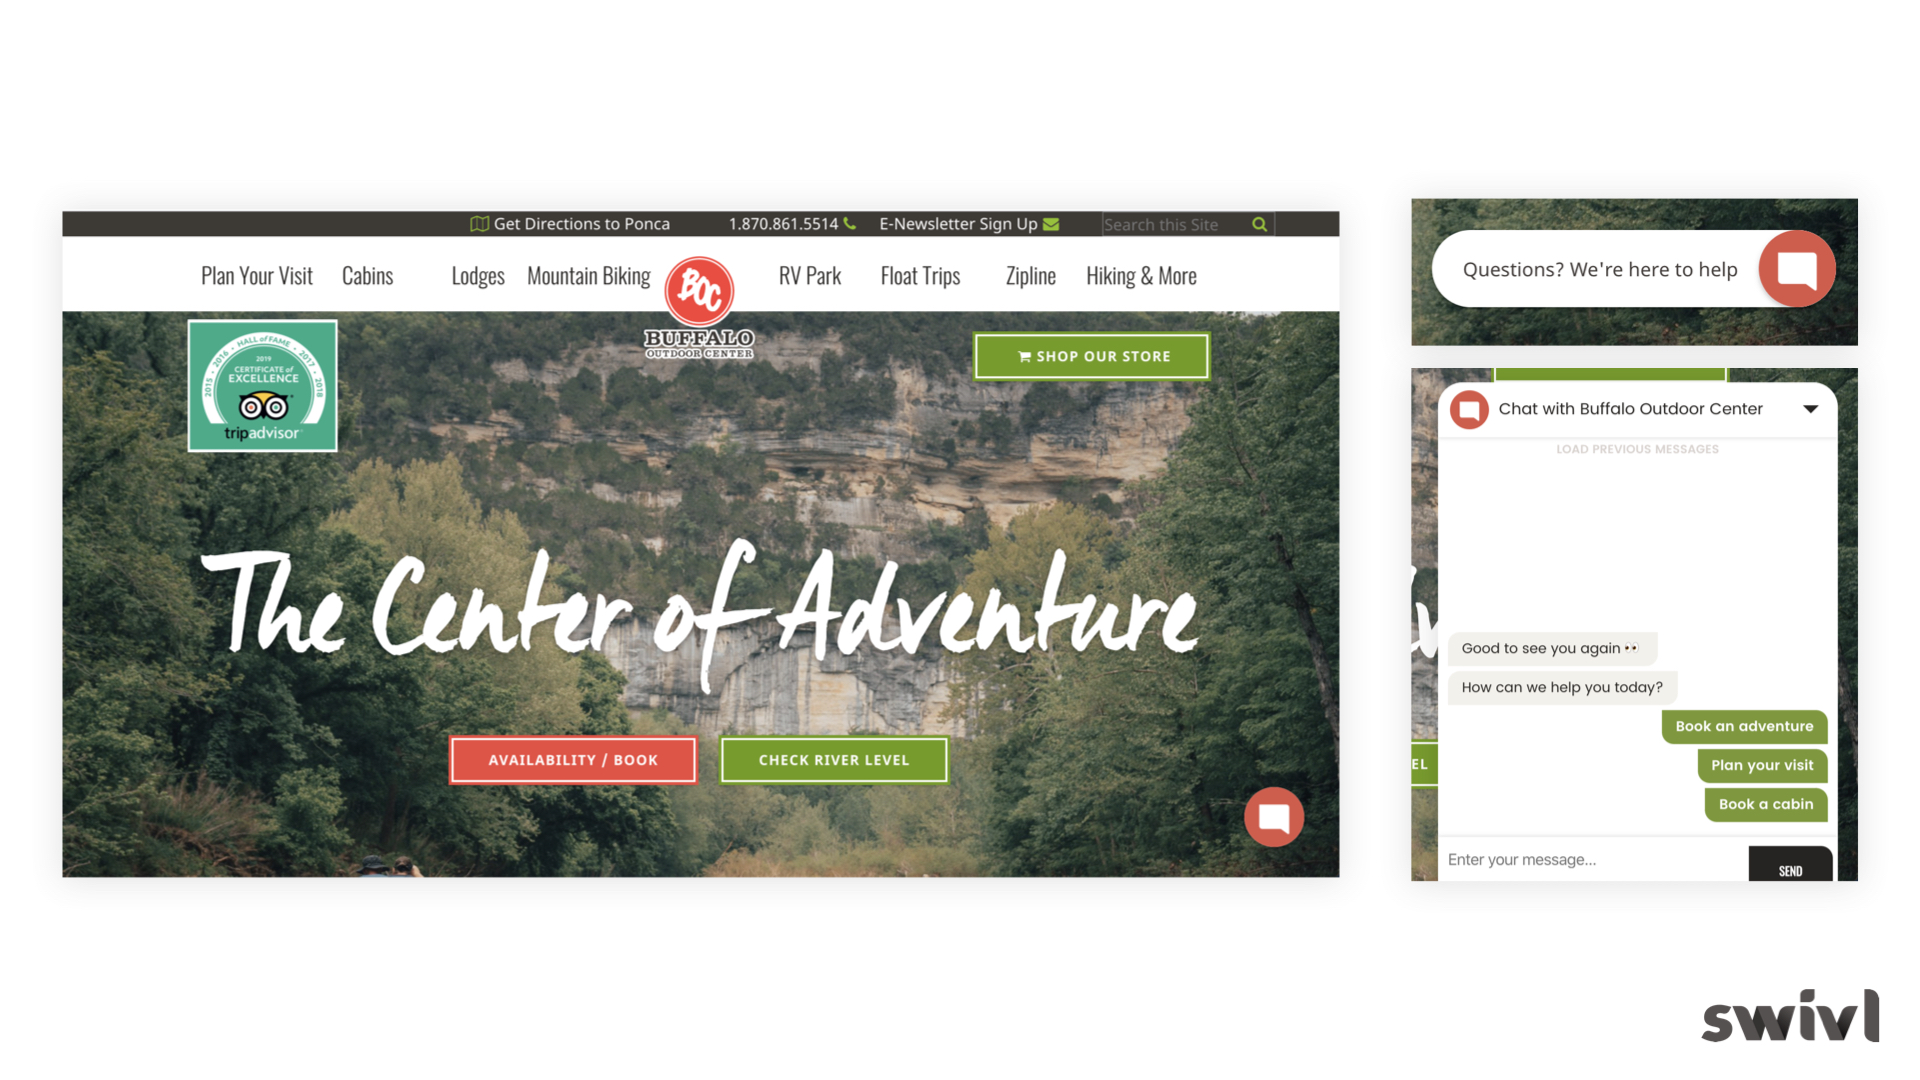
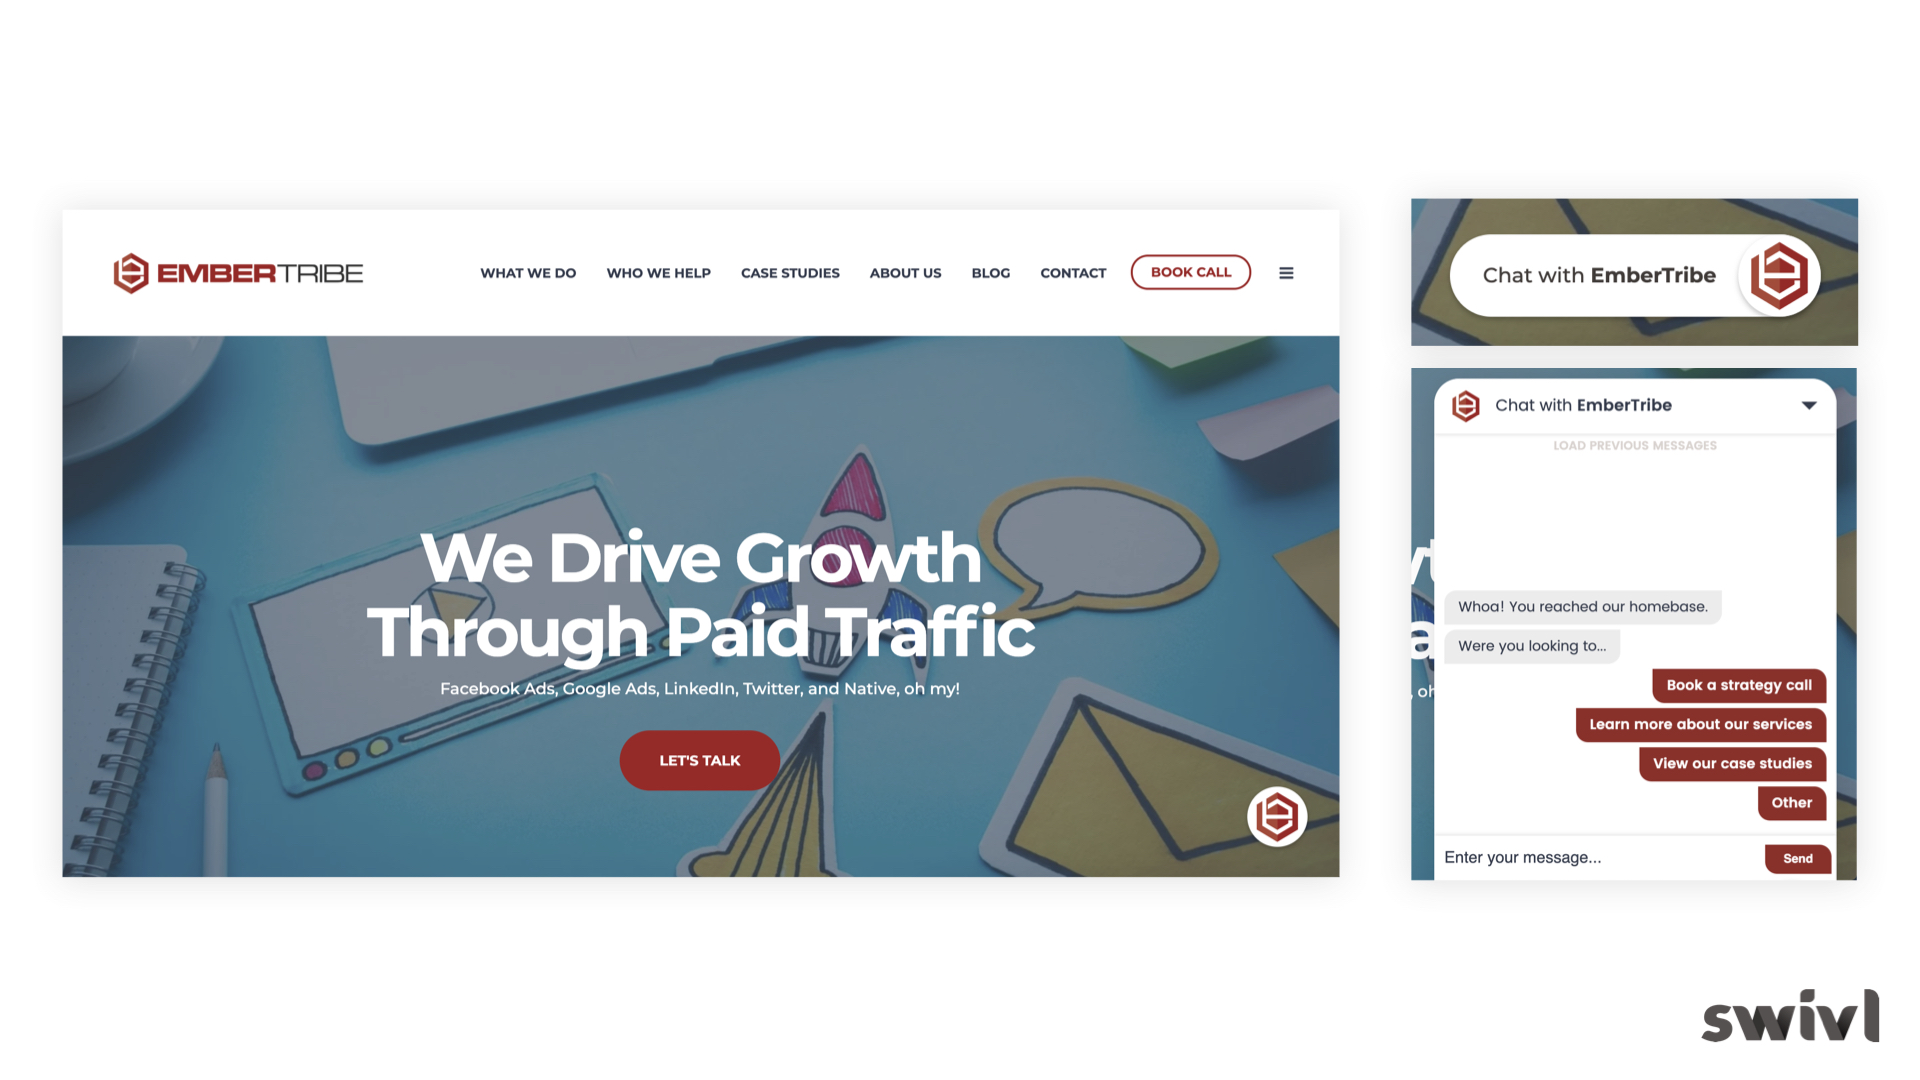
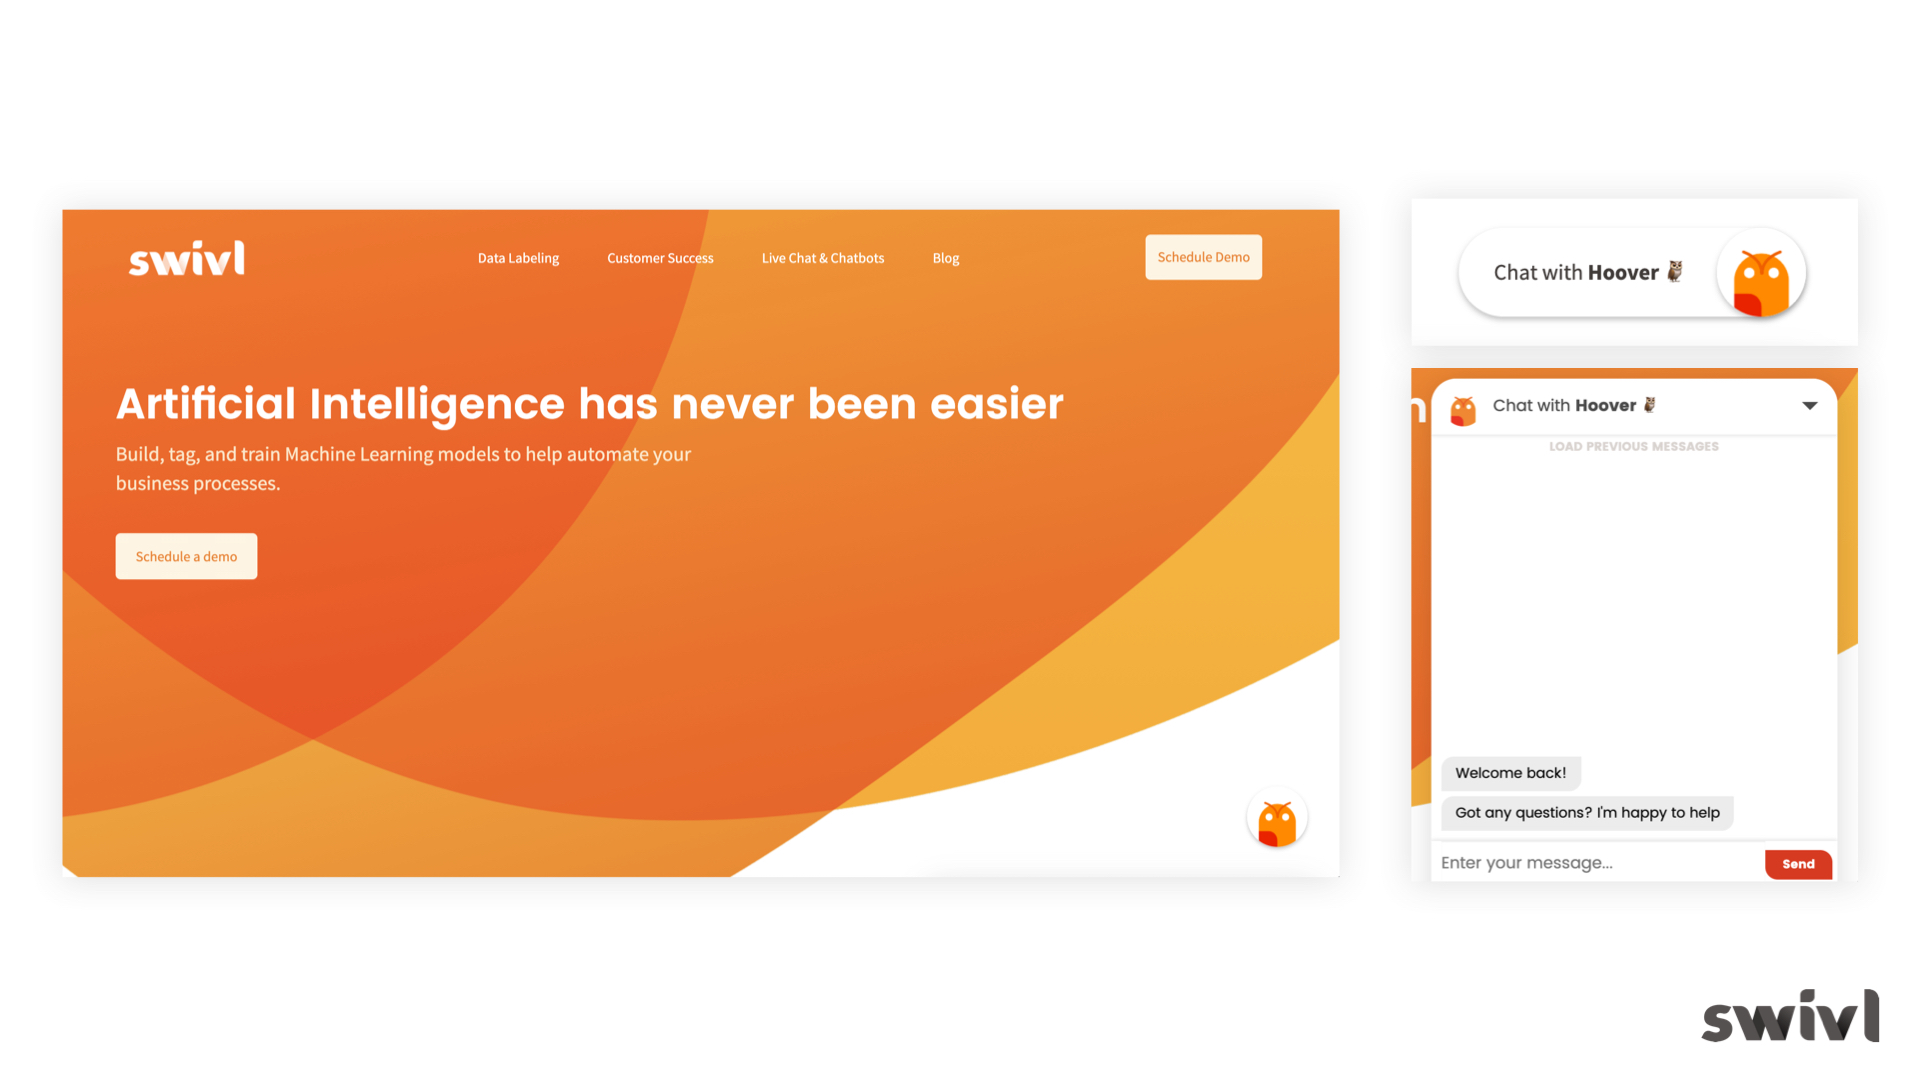
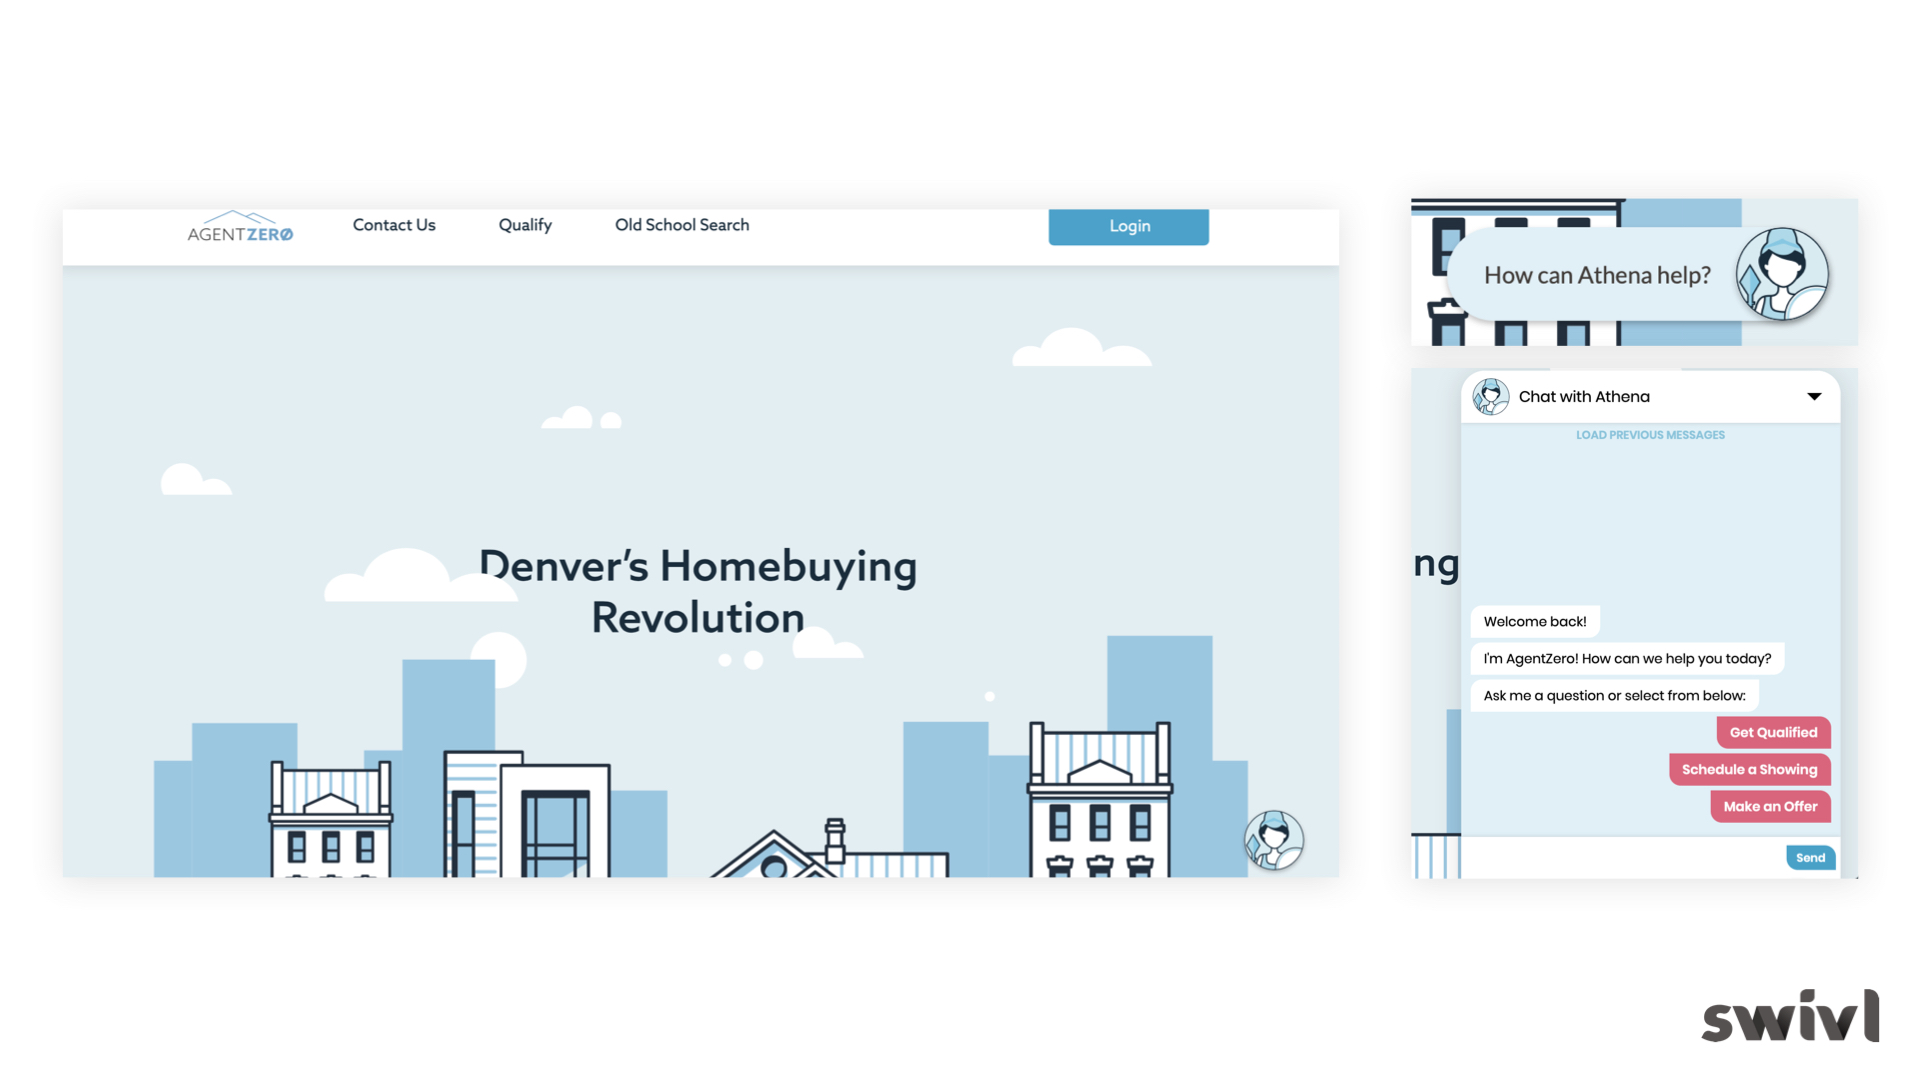
- Dot - This is a circle / dot that shows your avatar. When a user hovers over the Chat Dot, the Dot Title text will appear. Customers often choose this because it's the least obtrusive.
- Bar - This is a bar displays the full Header Title. When a user hovers over the Bar, it slides up / over slightly to let the user know they can open it. Customers often choose this when they want people to notice the chatbot & provide the ability to read the Header Title.
Start on Quest
Use this to start the embed on a specific quest We recommend leaving this on the default value. This will send users to the router which is preferred.
Positioning
We offer five positions for your bot. Simply select the option you want and the location will update live.
- East
- Southeast
- South
- Southwest
- West
Other Settings
Start Open
When a user lands on a page, the chat will always be opened by default, instead of collapsed.
Begin Closed
This starts a chat whether a user interacts with the bot or not
Some use cases:
-
- Open the chat automatically after a time delay
- Trigger notifications internally
- Keep in mind that this will create a new user every time someone comes to your site. (This will show up in your conversations section). We recommend not using this feature unless you want to use one of the two examples above. Reach out to a swivl team member and we'd be happy to get you setup.
Load Past Messages
This will always load previous conversations, even if they are months old.
CTA (Call to Action)
This feature allows for an alert message to be displayed after a set amount of time. This can be useful to alert your customers of a special deal or company announcement.
In swivlStudio, make sure to turn on the CTA toggle for the embed you want to use. This will open up the CTA section, where you can customize the text and image (optional) for your Call to Action
When a user opens the chat or selects the pop-up, they will be taken to the quest that is set in the ”Start on Quest” dropdown.
The “CTA Delay” setting is the time from initial load to displaying the pop-up. We recommend at least 5 seconds, but don’t wait too long.
For the image, you will need to host the file on a public server (Amazon S3, Wordpress, Etc.) and paste the URL into the field. We recommend a size of 240 x 100 and a PNG or JPG.
Variables
Sometimes you may need to preset or hardcode variables via the embed code. Reach out to your contact at swivl if you believe this is necessary on your account.
Avatar
This is the image that will be displayed for your digital agent in the chat embed (chat dot and bar designs). We recommend a PNG image at 150 x 150 pixels.
Theme
You can customize pretty much any color of your embed design. Feel free to poke around and play with it. You'll be able to see changes immediately in the preview on the right. Just remember that any changes made here will be live immediately for that embed.
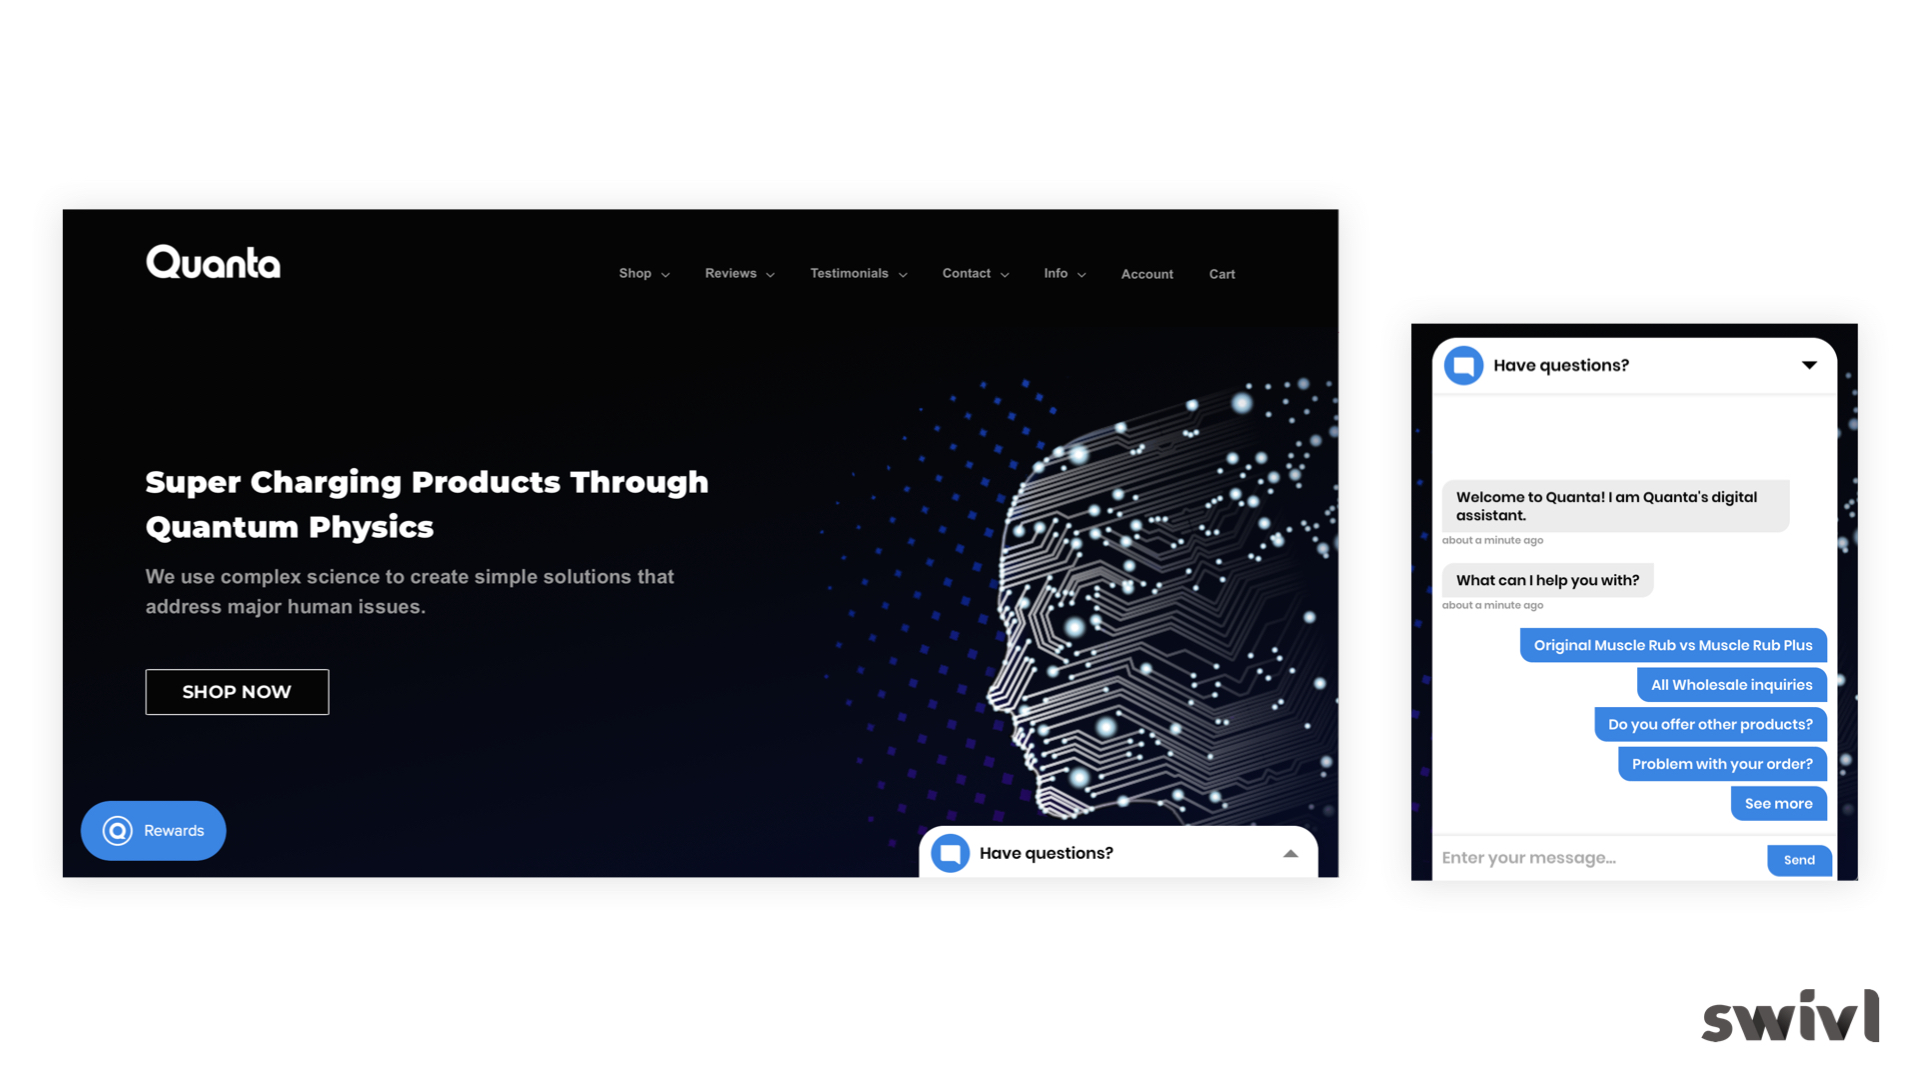
Examples
Here are a few examples of how customers use the embed builder: